
- Applelover53

- May 26, 2014
A few months ago I posted a video showing how I used my ScanNCut to scan the basting line of an in the hoop appliqué design.
I thought I would try it out again today, this process works well with the ScanNCut and can save time on cutting and gives a very neat finish to a project. I used a different design this time.

The original post was dated 29th March and the video is here showing how I did it.
- Applelover53
- Apr 22, 2014
So I was looking around the net recently and I came across this cute bird cushion project on a Brother website Here
So today I decided to try it out, the link above gives you the pattern for both the branch and the bird. I printed the pattern off twice I scanned one bird pattern into the ScanNcut and used scan to cut data, but I would suggest you cut away the pattern section names before you start as my scan picked those up so I scanned again without them.
Also the wing piece is on top of the body section so I cut just that piece from my second pattern and added to my scan mat so that I could scan all the parts in go and save them all together.

I used HeatNBond as usual on the back of my fabrics and as you can see it cut perfectly as always.


Finally I cut out the branch pattern by hand and traced around it onto my fabric and stitched with a decorative stitch.
Here is the finished cushion.

I am on a roll now with these, I love them.

- Applelover53
- Apr 14, 2014
I was asked to make some bunting with the words “friends are forever” I made it on Saturday night but didn’t have enough lace to string it together so I had to buy some more whilst out shopping today.
It’s about 2.5 metres long so here’s a little peek.

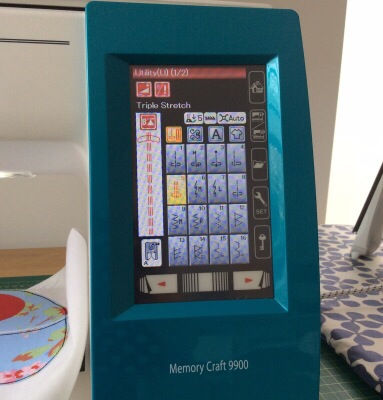
All the embroidery was done on my Janome Memory Craft 9900, cute I think don’t you?